How to get started with Flair
Jul 27, 2026
On this page
Get Flair set up in three quick steps. Create your first badge or banner, enable Flair in your theme, then add it to a page to show it to shoppers.
Create your first promotion
Start with a badge or banner to see Flair in action. You can add more later.
- In Flair, go to Badges and click Add badge (or Banners > Add banner).
- Add a badge with the text Best Seller.

- Under Conditions, select Product and choose a couple of products.
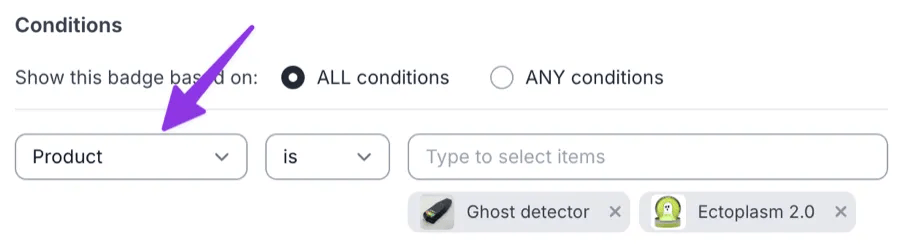
- Click Save.
Best Seller
Pro tip: The same steps work for banners. See How to run a Flair promotion for more badge and banner ideas.
Enable Flair in your theme
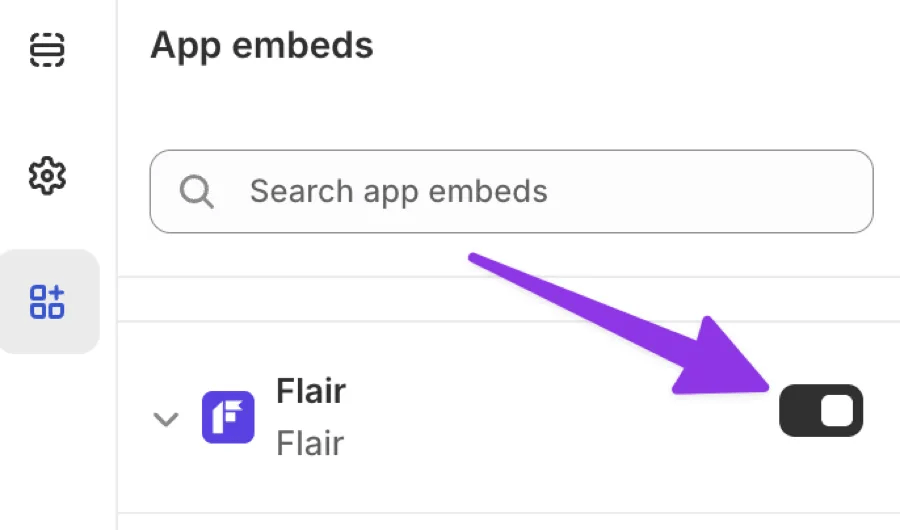
Enable the Flair app embed, then click Save in the theme editor.
- In your Shopify Admin, go to Online Store > Themes, find your theme, and click Edit theme.
- Click the App embeds icon in the left sidebar, find Flair, toggle it on, and click Save.
Add Flair to a page
Add a Flair block in the theme editor:
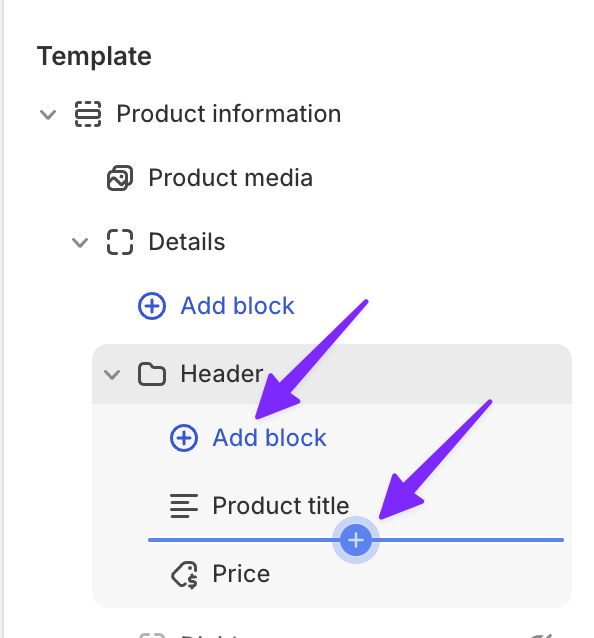
- Navigate to the page you want to edit (e.g. a product page) and click Add block (or +) where you want Flair to appear.
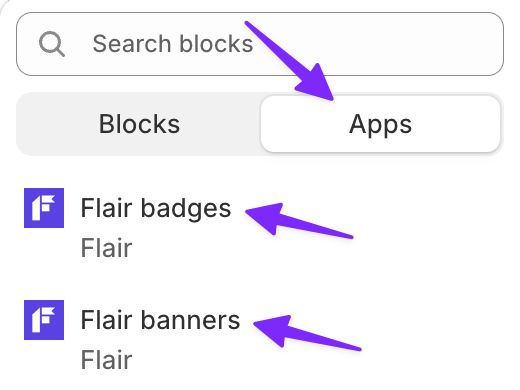
- Under Apps, choose Flair badges or Flair banners.
- Drag the block if needed, then click Save.
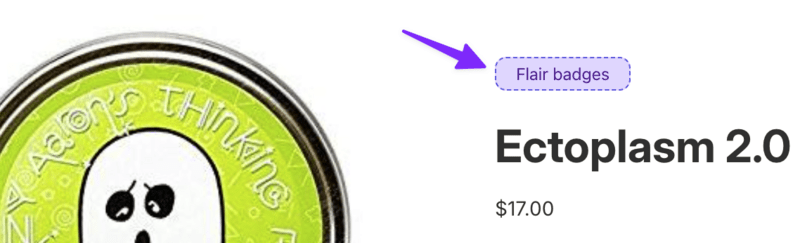
In the theme editor, matching Flair badges or banners appear in the block. If none match yet, you'll see a labeled placeholder like the one below.
Next step
Learn how to run a Flair promotion
Need help?